Shapes On A Sidewalk
Introduction
This outdoor art activity is not only fun for the whole family, but it also helps children learn through play. While school often involves a lot of sitting, children need strength throughout their bodies—especially strong core muscles—to sit and focus. When kids get down on their hands and knees to create shapes with tape and chalk, they’re building core strength, along with shoulder muscles that are crucial for fine motor skills like writing. As your child colors with chalk, they’ll naturally practice recognizing and naming shapes like squares, triangles, and rectangles, while also learning spatial words like “next to,” “above,” “below,” and “inside.”

Gather Materials
- Sidewalk chalk (many colors)
- Masking tape or painter’s tape (easy to remove)
- A flat surface (sidewalk, driveway, or patio)
- A small basket or container for chalk
Note: Small parts pose a choking hazard and are not appropriate for children age five or under. Be sure to choose lesson materials that you feel are safe for your child and that you are comfortable letting your child use.

Activity
- Choose a Space
Find a flat area outside to make your mosaic. Make sure it’s clean and safe. - Start by creating a shape on the sidewalk or a flat surface with masking tape. Divide the inside area into smaller shapes. Use masking tape to create one large shape — like a square, triangle, or rectangle — on the ground. If this is your first attempt at introducing chalk mosaics to your children, I would suggest beginning with a small area that measure about two feet by three feet, with smaller shapes inside. Why start out small? The children can see results faster—and smaller is better for our youngest students, who haven't yet developed the hand and wrist strength to color in larger shapes. On a more practical note, I've discovered that smaller shapes are better when the children are using smaller pieces of chalk.
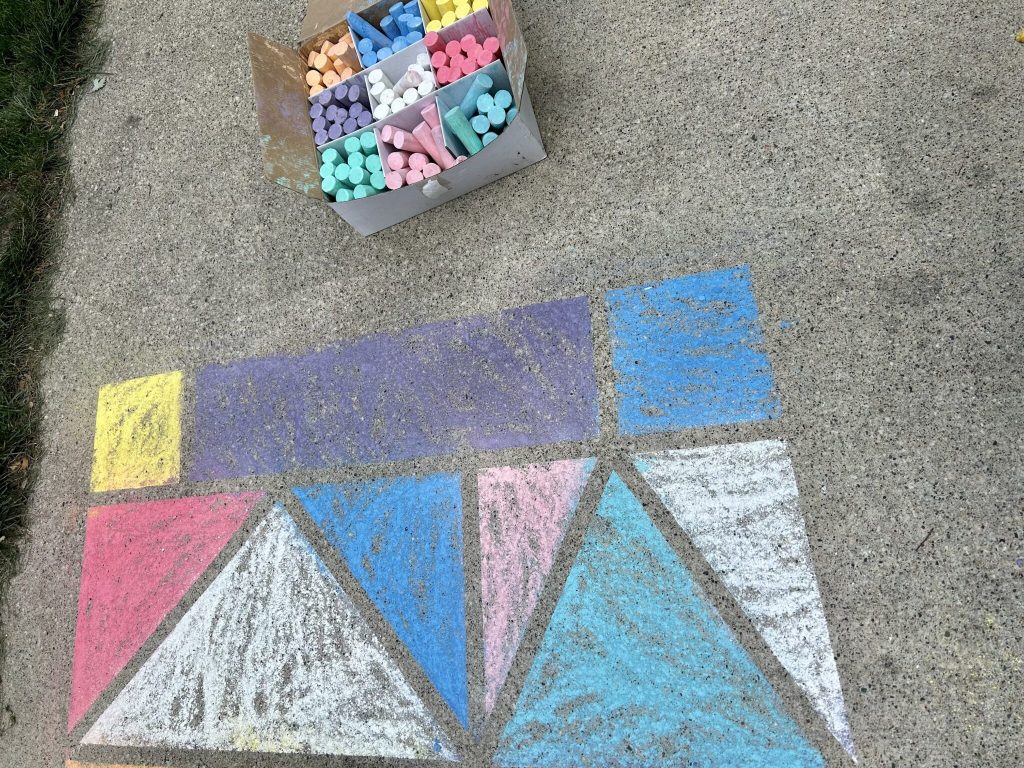
- Color the Shapes
Put out the chalk and invite your child to color each shape with different colors.
Encourage them to talk about what shapes they are coloring and where it is located. - Remove the Tape
When all the shapes are colored, carefully peel off the tape.
Watch your beautiful chalk mosaic appear! - You can always go bigger as the children get the hang of chalk mosaics. If you have an endless supply of wasabi tape, this easy-to-tear tape enables them to create their own shapes inside the larger shape.
If you'd like to learn more about using mosaics for family fun, read our Early Math Counts blog, Geometry With Chalk Mosaics.
