Fix-It Fun!
Introduction
Playing with tools is one of the top six activities that children enjoy when engaging in "risky" play. Risky play is about testing boundaries, which leads to greater self-confidence, increased resilience and more well-developed risk-management skills. Today's activity—which teaches early STEM skills such as math and science and life skills such as focusing carefully on the task at hand—promises to be a popular one with your child!
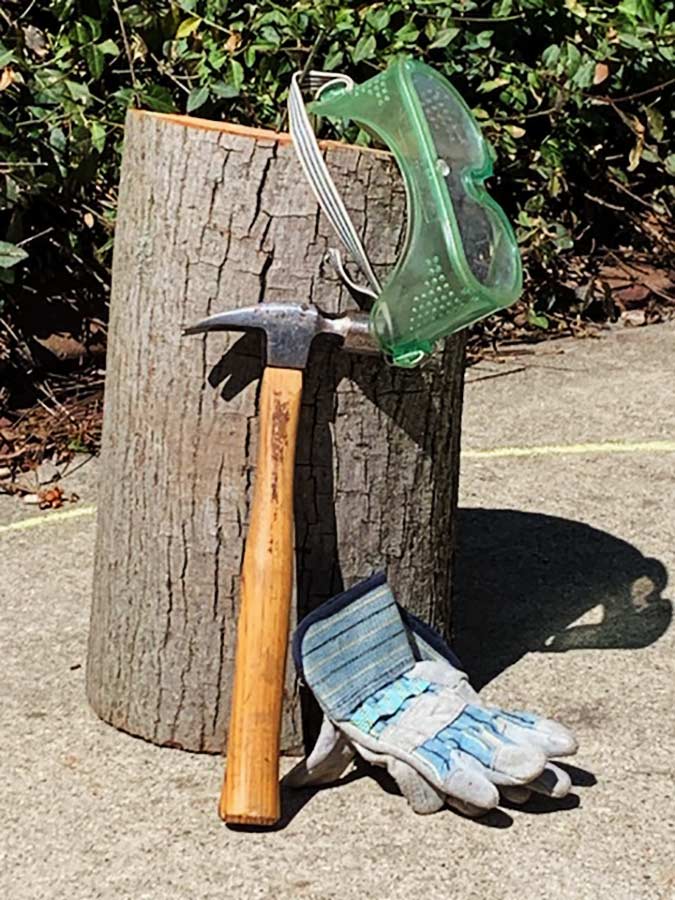
Gather Materials
- Chalk
- Hammer
- Nails
- Safety goggles
- Tree stump
- If you don't have a tree stump, try using natural wood slices from a craft store (you can also find them on Amazon)
Note: Small parts pose a choking hazard and are not appropriate for children age five or under. Be sure to choose lesson materials that you feel are safe for your child and that you are comfortable letting your child use.
Activity
Okay, I already know what you're thinking: "My kid would love that, but it would never work. My child will get hurt or hurt someone else!"
I understand. But there are so many benefits to this activity—and I promise to set you up for success!
First, let's talk about the benefits. Hands-on learning with tools teaches children concepts such as problem-solving, counting and measuring as they learn about weight, balance, force and materials such as wood and steel.
As children practice with tools, they also develop better eye-hand coordination and improve their fine-motor skills, which will help them hold a pencil in the future. The list of benefits goes on and on.
Here's how we "baby-stepped" our way into the world of hammers and nails with our early learners:
Set up a work area. Use chalk to draw a large circle around the tree stump or the wood slice and explain that the circle represents the DANGER ZONE. These circles have proven to be very effective visual cues for our young learners.
Before the hammering starts, discuss the following rules:
- Only one child, one stump or tree slice and one hammer in the danger zone at any given time.
- No one else enters the circle.
- The hammer never leaves the circle.
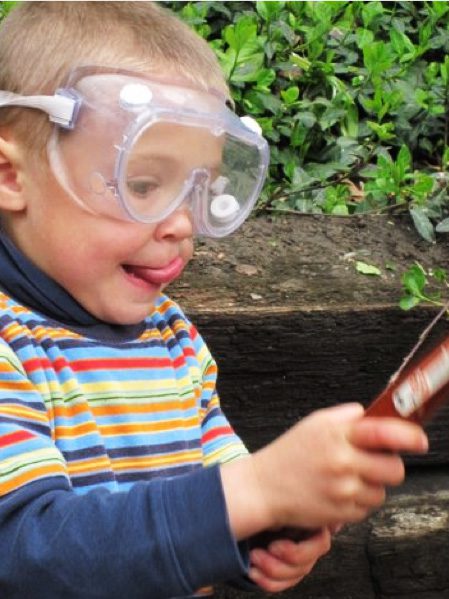
- Children must wear safety glasses when hammering.
When it comes to suiting up for safety, more is not better. Here are a few examples of what worked and what didn't in my classroom:
- Work gloves may be cute, but they are too big for small hands and made it harder for the children to grip the hammer.
- Dollar Tree sells hard hats, but they slipped down over the children's eyes and proved to be more distracting than useful.
- The safety goggles were a hit! You can find these at your local Dollar Tree or hardware store.
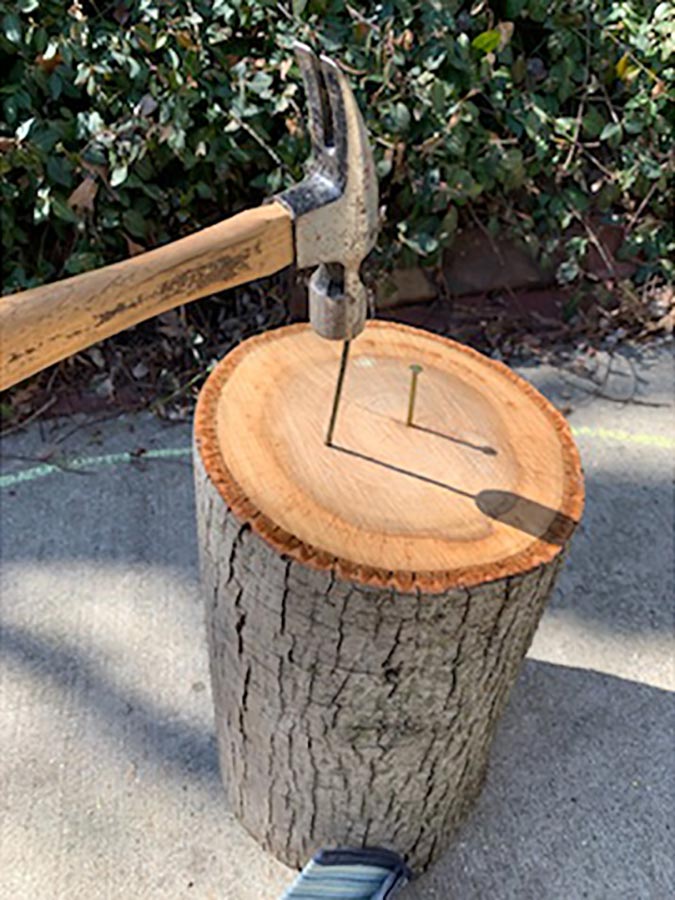
Once you've discussed safety, pound some nails into the tree stump. Pound them in only until they aren't wobbly to get them started for the kids—then let them do the rest.
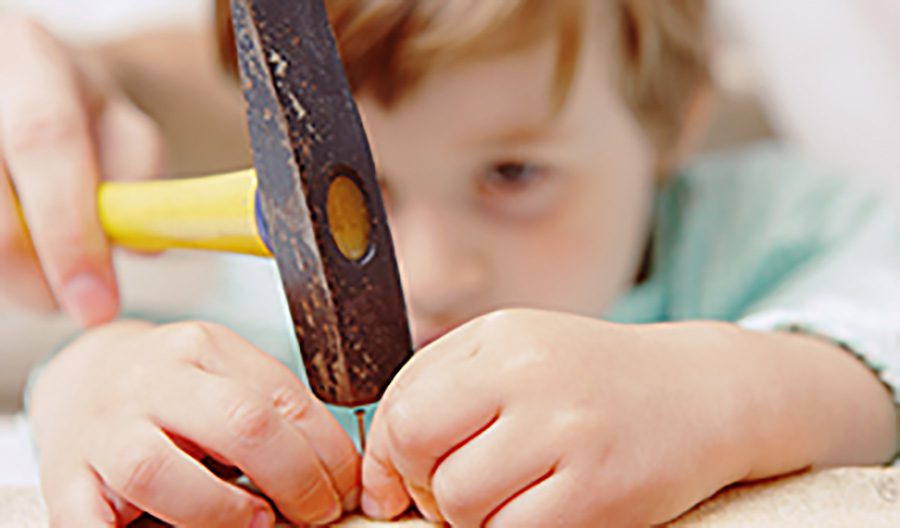
When I first introduced this activity, I didn't have "child-sized" tools. But don't let that stop you. The children will adapt and figure out how to use adult-sized tools. If the hammer is too big, they will grasp the handle higher up for better control. This is problem-solving!
During the first week or two, the children will concentrate on simply hitting the nails. But, as time goes by, they will learn how to start the nails as well.
The large roofing nails that I pound part way into the tree stump give the children a bigger target to aim for as they build their strength and hand-eye coordination. But when the children are ready to start their own nails, you might want to switch to a longer, thinner nail, which will require less effort to pound into the wood.
You may be apprehensive about this activity, but you can do it safely—and the children will love it.
Happy hammering!